
[wpml_language_selector_widget]

10 Tips for Choosing the Right Recessed Downlight

Choosing the right Recessed Downlight involves more than selecting a stylish trim or bright wattage. It requires careful attention to ceiling construction, room purpose, visual comfort, and long-term performance. A kitchen needs clean task lighting, while a bedroom often benefits from softer, warmer illumination. The wrong beam angle can leave dark corners or create harsh pools on polished floors.

Lighting designer Randall Whitehead is widely associated with the phrase, “Lighting is the jewelry of architecture.” His observation explains why a small ceiling fixture can strongly influence a room’s atmosphere. A well-selected Recessed Downlight should support the architecture without stealing attention from it. Look closely at color temperature, color rendering, glare control, dimming compatibility, and the fixture’s IC rating. These details matter behind the ceiling, not only on the showroom display.

This guide presents ten practical tips for making that decision with greater confidence. It considers lumen output, beam spread, trim design, spacing, moisture exposure, and energy efficiency. Real rooms are rarely perfect. Ceiling joists interfere. Switches may not match. A technically suitable light can still feel uncomfortable when installed too close to a wall. That is where experience becomes valuable. Measure the space, test samples, and observe the light at night. Even professionals sometimes choose brightness first and regret it later. A thoughtful Recessed Downlight selection balances safety, appearance, performance, and everyday comfort.
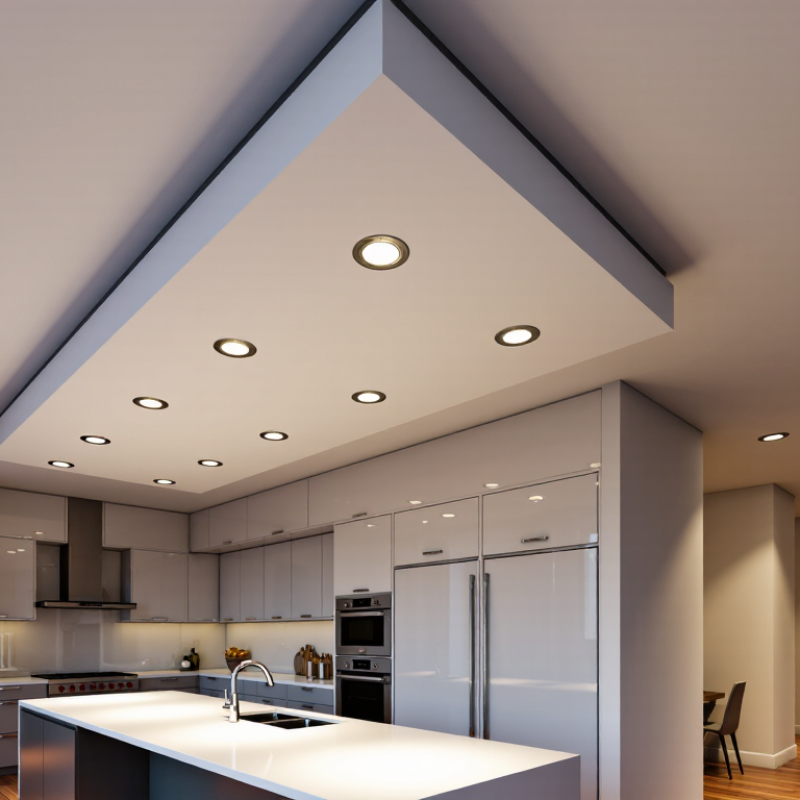
10 Tips for Choosing the Right Recessed Downlight

Set Lumen Output and Efficacy Targets: 80+ lm/W per DOE LED Data

Choosing the right recessed downlight starts with a measurable lumen target, not appearance alone. For general residential areas, estimate required lumens from room size and task needs. Then compare fixture efficacy, measured in lumens per watt. DOE LED data supports using 80+ lm/W as a practical baseline for efficient LED performance.

Look for delivered fixture lumens, not only LED chip output. A downlight rated at 1,000 lumens may deliver less after the trim, lens, and housing reduce light. Check the photometric report and confirm whether testing covers the complete fixture. I have seen attractive products perform poorly when heat buildup lowers output over time. Thermal management matters.

Set a higher target when the ceiling is tall or the room needs bright task lighting. For example, a 900-lumen fixture at 90 lm/W uses about 10 watts. A similar fixture at 60 lm/W needs more power and may create more heat. Compare color temperature, color rendering, dimming range, and glare control alongside efficacy. Efficiency is useful, but it is not the whole decision. Numbers can mislead. A small test installation often reveals uneven spacing, harsh shadows, or unexpected glare. Leave room to reconsider the target after viewing the light at night.


Choose CCT and Color Quality: 2700–3000 K and CRI 90+ for Homes

Choosing a recessed downlight starts with the atmosphere you want, not the fixture’s appearance. For bedrooms and living rooms, 2700 K produces a warm glow similar to incandescent light. It makes wood, fabric, and skin tones feel comfortable. A 3000 K option appears slightly cleaner while remaining inviting. It often suits kitchens, hallways, and home offices.

Color quality matters just as much. Choose a light with CRI 90 or higher for bedrooms, dining areas, and artwork. High CRI helps painted walls, vegetables, and clothing look closer to their natural colors. Check the R9 value when possible. Strong R9 performance improves red tones, which standard CRI numbers may hide. I have seen inexpensive lights make white walls look faintly green. The specification sheet looked acceptable, but the room did not.

Test the actual light before installing several units. A sample on a worktop can reveal glare, shadows, and unwanted color shifts. Review dimmer compatibility, beam angle, and trim depth too. A narrow beam may highlight a picture beautifully but create harsh spots on a floor. A wide beam can feel softer, yet it may leave artwork looking flat. CCT can also appear different beside daylight or cool-colored surfaces. My earlier selections were sometimes too warm for detailed tasks. That mistake taught me to compare samples at night and during daylight.

Choosing the Right Recessed Downlight: CCT and Color Quality

Warm-white light between 2700 K and 3000 K is commonly selected for living rooms, bedrooms, dining areas, kitchens, and bathrooms. For more natural-looking finishes and skin tones, choose recessed downlights with a CRI of 90 or higher. CCT describes the light’s warmth, while CRI describes color-rendering quality.

Match Beam Angle and Spacing: Keep Fixture Spacing Within 1.5× Ceiling Height

Choosing recessed downlights is not only about lumen output. Beam angle and fixture spacing determine how evenly a room feels lit.

A useful starting rule keeps fixture spacing within 1.5 times the ceiling height. For a 9-foot ceiling, that means no more than 13.5 feet between fixtures. That distance is an upper limit, not a design target. In real rooms, six to nine feet often creates smoother coverage, especially with narrower beams. Wide beams can stretch farther, but they may reduce brightness on work surfaces.

Match the beam to the room’s purpose. A 24-degree beam can highlight artwork or a kitchen island, but it needs careful aiming. A 60-degree beam spreads light more gently across open areas. I usually mark the ceiling with tape before cutting holes. This simple step exposes awkward spacing near cabinets, doors, and ceiling fans. Measure twice.

Avoid placing every fixture in a perfect grid without checking the walls. Wall washers need closer placement, often 18 to 30 inches from the wall, depending on the trim and beam pattern. Dimming also matters. A layout that looks balanced at full output may feel harsh at night. I have missed this detail before. Testing one fixture at different heights and angles can reveal glare, dark patches, and unwanted scalloping before installation.

10 Tips for Choosing the Right Recessed Downlight - Match Beam Angle and Spacing: Keep Fixture Spacing Within 1.5× Ceiling Height
No. Selection Dimension Practical Guideline Planning Example What to Verify Before Installation
1 Measure the Ceiling Height Use the finished floor-to-ceiling height as the starting point for spacing and beam calculations. For an 8 ft ceiling, the maximum spacing based on the 1.5× guideline is approximately 12 ft. Measure after flooring and ceiling finishes are included.
2 Set a Spacing Limit Keep fixture-to-fixture spacing at or below 1.5 times the ceiling height to help reduce dark areas between downlights. 9 ft ceiling × 1.5 = maximum guideline spacing of 13.5 ft. Treat 1.5× as a planning limit, not a substitute for a photometric layout.
3 Choose the Beam Angle Narrow beams create higher intensity over smaller areas; wide beams distribute light more evenly over larger areas. Use approximately 24°–40° for accenting and 50°–90° for general ambient lighting. Confirm the manufacturer’s beam-angle definition and photometric data.
4 Match Beam Width to Spacing A wider beam generally supports greater coverage, while a narrow beam requires closer spacing to avoid visible gaps. At a 9 ft mounting height, a nominal 60° beam produces a theoretical diameter of about 10.4 ft. Compare the beam diameter with the proposed spacing at the actual mounting height.
5 Use the Beam-Diameter Formula Approximate beam diameter using: D = 2 × H × tan(θ ÷ 2), where H is mounting height and θ is beam angle. For H = 8 ft and θ = 40°: D ≈ 5.8 ft. The result is theoretical; lens shape, trim, glare control, and usable light output also affect coverage.
6 Keep the First Row Away from Walls Place the first row approximately half the intended fixture spacing from the wall for more balanced illumination. With 8 ft fixture spacing, start the first row about 4 ft from the wall. For artwork or vertical surfaces, a closer wall-wash layout may be more appropriate.
7 Consider the Room Function Select beam angle, light output, and spacing according to the visual task rather than using one layout for every room. Kitchens and work areas often need more uniform task lighting than bedrooms or circulation spaces. Review the target illuminance, visual comfort, and local lighting requirements.
8 Check Light Output Compare delivered lumens, not only the nominal wattage. Higher ceilings and darker finishes may require more useful lumens. Two fixtures with the same wattage can provide different delivered lumens because of optical and driver efficiency. Use tested lumen data and account for lumen depreciation over the product’s rated life.
9 Control Glare and Contrast Use suitable shielding, trim, and beam control to reduce direct glare, especially in low-ceiling rooms and screen-viewing areas. A deeper baffle or lower-glare optic can be preferable where occupants frequently look toward the ceiling. Review glare ratings where available and avoid placing fixtures directly in a viewer’s line of sight.
10 Verify Dimming and Installation Conditions Confirm ceiling cutout size, insulation rating, wet-location suitability, dimmer compatibility, and control requirements before purchase. A damp or wet location requires a fixture specifically listed for that environment; insulation-contact requirements depend on the installation type. Check electrical code requirements and use a qualified installer where required.
Planning note: The 1.5× ceiling-height rule is a practical spacing guideline. Final spacing should be confirmed with the fixture’s photometric files, room dimensions, mounting conditions, surface reflectances, and the intended illuminance level.

Verify Safety Ratings: IC, Airtight, Wet-Location, and IP44+ Compliance

Tip: Verify the IC rating before choosing a recessed downlight. IC-rated fixtures can contact insulation safely, reducing overheating risks above the ceiling. Non-IC fixtures need clear separation, which may be difficult in tight roof spaces. Check the housing label, not only the product title. I once treated a retailer’s short description as proof. That was careless.

Tip: Look for an airtight rating when energy efficiency matters. An airtight fixture limits air leakage between the room and ceiling cavity. This can reduce drafts and protect heating or cooling performance. Confirm the rating through installation instructions or certification documents. The word “sealed” alone proves little.

Tip: Match the location rating to real moisture exposure. Wet-location approval is important for bathrooms, covered porches, and areas near water. IP44 or higher indicates protection against solid objects and water splashes, but IP ratings do not replace local electrical requirements. Direct spray may require a stronger rating. Consider the shower’s reach, ceiling slope, and condensation patterns. Small details matter. When uncertain, ask a qualified electrician to review the installation and local code.

Compare Dimming, Controls, and Rated Life: Target 25,000+ Hours per ENERGY STAR

Choosing the right recessed downlight starts with more than trim color or beam angle. Check dimming performance at both low and high levels. Some fixtures flicker, buzz, or drop out below 20 percent. Test the actual wall dimmer before installation. A smooth range matters.

Review the control method carefully. Traditional wall controls may suit a simple bedroom, while wireless, occupancy, or daylight controls work better in larger spaces. Confirm compatibility with the control system, not just the voltage. Check the rated life, too. A target of 25,000 hours or more aligns with ENERGY STAR expectations, but rated life is not a guarantee for every installation. Heat, moisture, frequent switching, and poor ventilation can shorten performance. Read the certification details and testing conditions.

Look for clear color consistency, especially when several downlights share one ceiling. A warm 2700K tone can feel comfortable in a living room, while 3500K may appear cleaner in a workspace. Consider glare, wet-location ratings, insulation contact ratings, and replacement access. Measure the ceiling cutout twice. I have seen expensive rework caused by a small diameter mistake. One judgment call remains difficult: the brightest option is not always the best option. Lower glare and dependable dimming often create a more comfortable room. Check the warranty terms, installation instructions, and expected maintenance before choosing.